


Mrs. H's Maple Granola
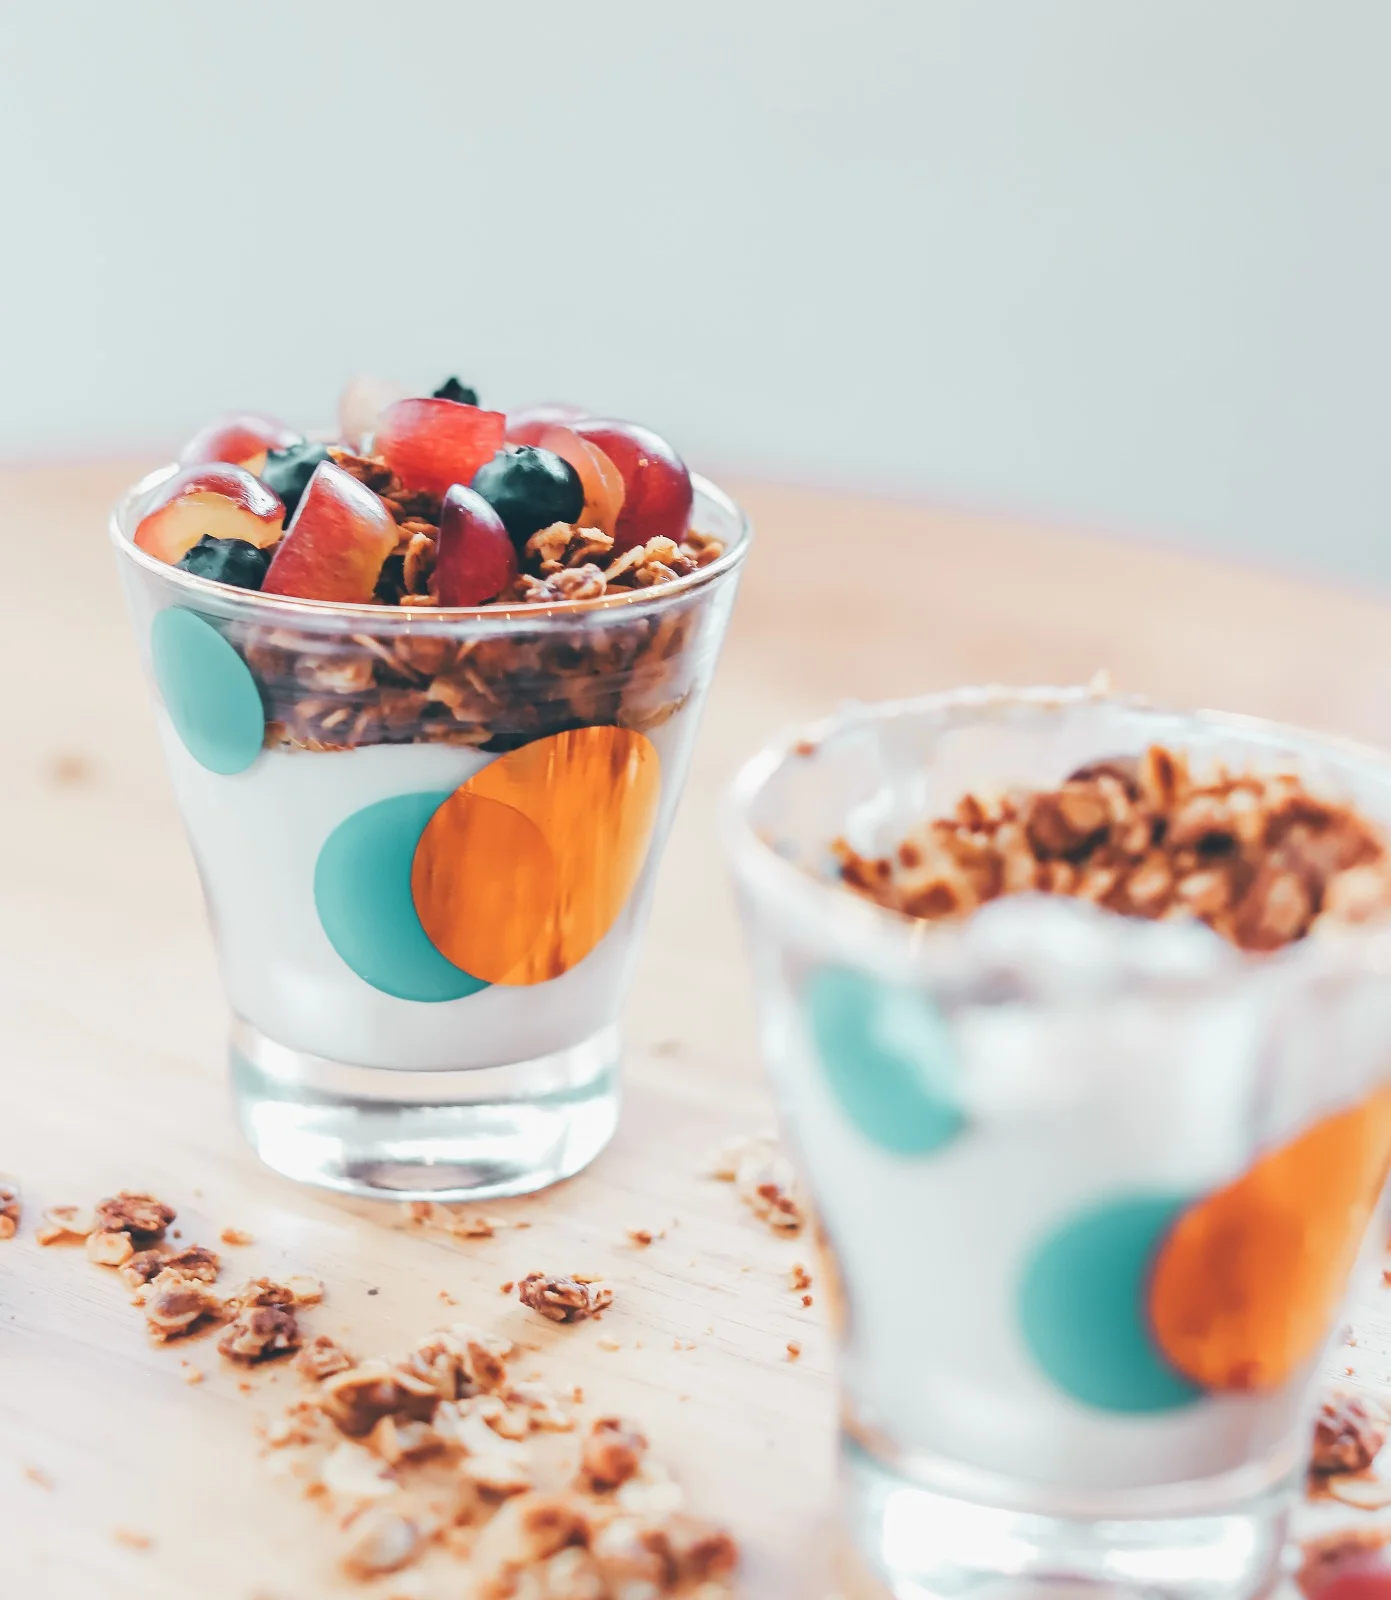
We eat a huge amount of granola. We sprinkle it over oatmeal for extra calories before a big ride. We pour it onto yogurt for a post-workout second breakfast. We spoon it on ice cream for dessert. And we always pack a batch (double-bagged) in our gear duffle when we go abroad to race, so we’re sure to have a familiar food on hand.

John’s mom taught me how to make granola one of the first times I visited her in Canada. Mrs. H has honed her granola recipe with characteristic scientific precision (for background, see, Cooking with Mrs. H on Christmas Eve). Here are her tips:
1. Sweeten with Grade B maple syrup. Less sweet and more assertively maple-flavored, Grade B syrup gives the granola a rounder taste. At first I thought this Canadian moderation wouldn’t comply with my big American sweet tooth, but I became a convert when I found that maple syrup provides up to 23 antioxidants and a more sustained energy than white or brown sugar.
2. Foreven toasting, don’t overcrowd the pan. Mrs. H’s ratio is two cups per 18” by 13” baking sheet.
3. Add in whatever’s on hand. I know this rule of Mrs. H’s granola contradicts her usual precision, but it’s practical. Try slivered or whole almonds, raisins or dried cranberries, pumpkin seeds or cashews.
4. Let the oats shine. Nuts, seeds, and dried fruit add texture, protein, and sweetness. They should compliment, not overshadow the oats. I like that this strategy lets me add extra mix-ins on a whim. I’ll toss in a handful of raisins and walnuts before an extra long ride or mini chocolate chips for an afternoon snack.

5. Bonus tip from me: In a recent batch Mrs. H used raisins and salted almonds. The salt enhanced the slight sweetness of the maple syrup, making Mrs. H’s granola even more addictive than usual. I liked it so much that I now have my very own granola rule: Add a salted nut or seed. Or, if your pantry holds none, mix in a ½ teaspoon sea salt before cooking.
—Bec

Maple Granola
Time: 30 minutes, plus cooling
Yield: 4 ½ cups
1 teaspoon olive oil
½ cup Grade B maple syrup
½ cup water
4 cups rolled oats
½ teaspoon fine sea salt (optional)
½ cup total nuts, seeds, and/or dried fruit: raisins, dried cranberries, toasted coconut, pumpkin seeds, sunflower seeds, toasted almonds, walnuts, pecans, cashews
Preheat the oven to 350˚F. Grease two baking sheets* with ½ teaspoon olive oil.
Whisk together the maple syrup and water. (Mrs. H mixes them right in her Pyrex measuring cup.)
Combine the oats with the maple syrup, water, and sea salt, if you’re using it, in a big bowl.
Spread the oats on the greased pans and bake for 10 minutes. Remove the pans from the oven and stir the oats, pushing them from the edges to the middle and vice-versa. Switch the pan positions in the oven and cook until the oats at the edges of the pans are golden brown, 12 to 15 minutes. (One pan might cook faster than the other, if your oven heats unevenly.) Cool the granola completely on the pans, then add the nuts, dried fruit, and/or seeds.
Shelf life: Two to three weeks stored in an airtight container at room temperature. I store a double batch in the freezer, so the nuts don’t turn, and it keeps for about three months.
*Note: We like the inexpensive aluminum half-sheet pans sold at restaurant supply shops. Their light color cooks food more evenly than darker and non-stick pans. Also, the raised edges on the sheet pans allow you to stir granola without spilling.
